Assignment | Project Due & Critique 3.13 | Retouching Photo Due 2.20
For this project, you will be exploring the subject of portraits with three different objectives.
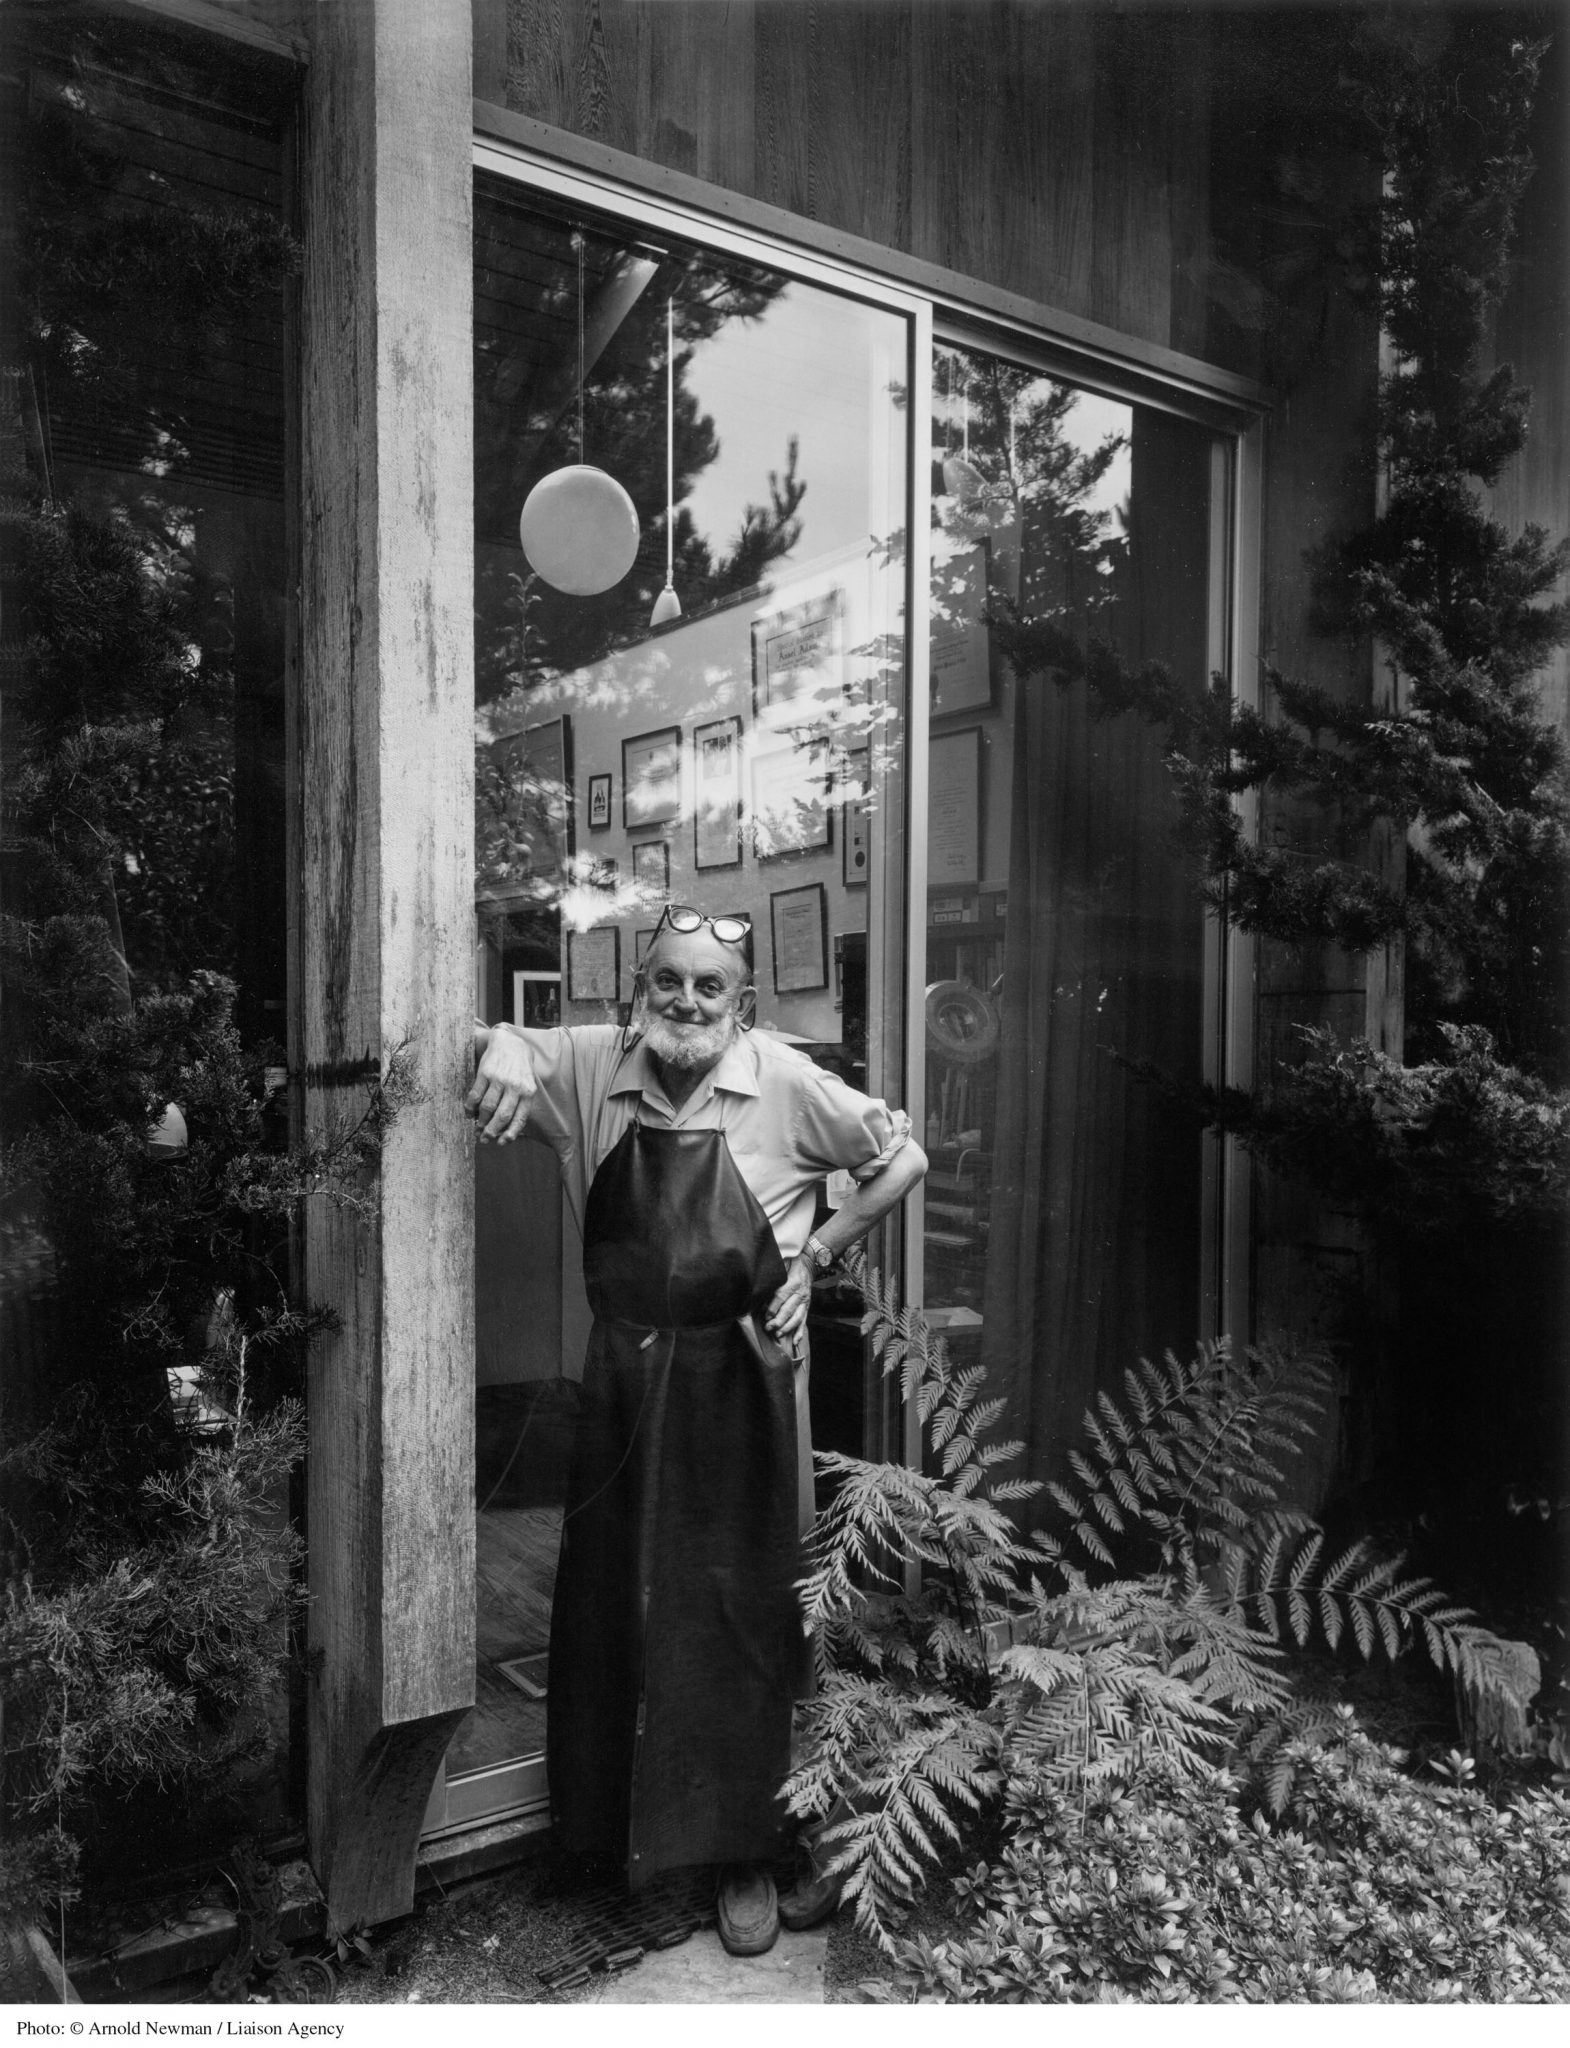
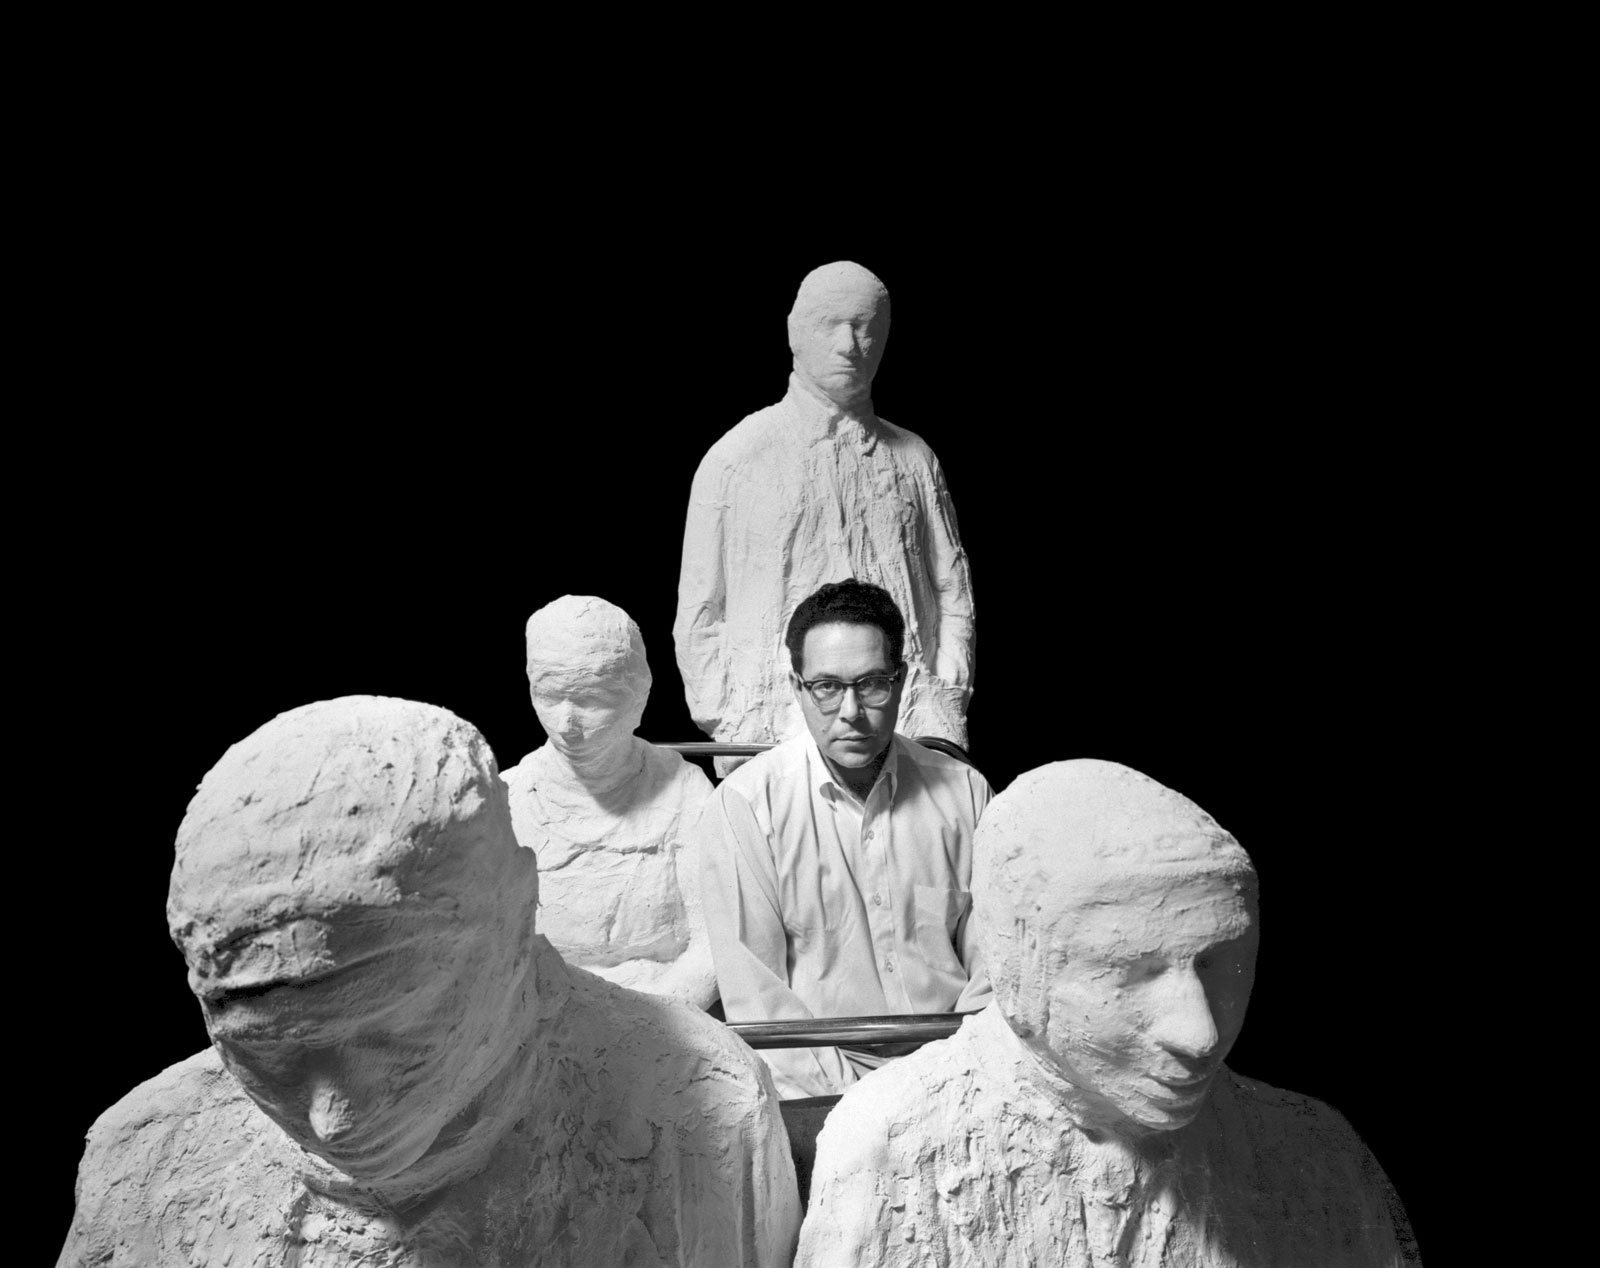
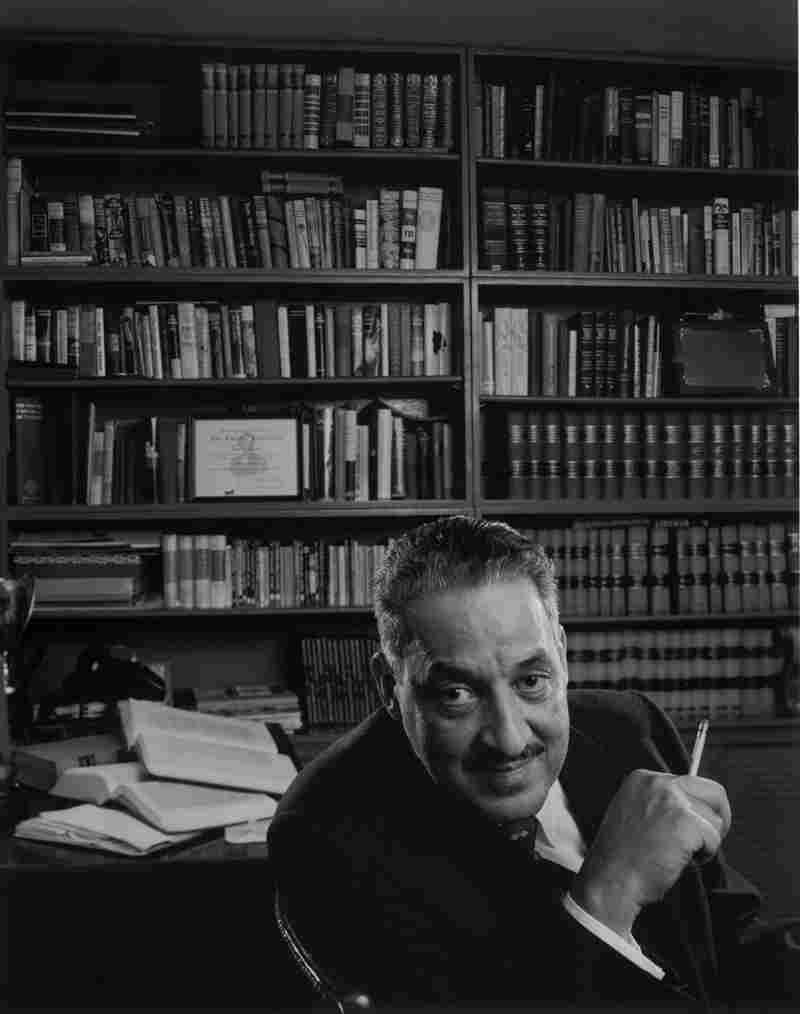
- In the style of Arnold Newman: take a portrait that focuses on composition and context to give information about the person being photographed. Everything visible in the frame should be telling a story about the person. Nothing irrelevant should be included. Think of someone who does something interesting, and consider how you could visually capture it in a portrait. What would the location be? What would you need in the frame to tell the story? Most Newman photos have the portrait subject making eye contact with the camera, so take this into consideration.
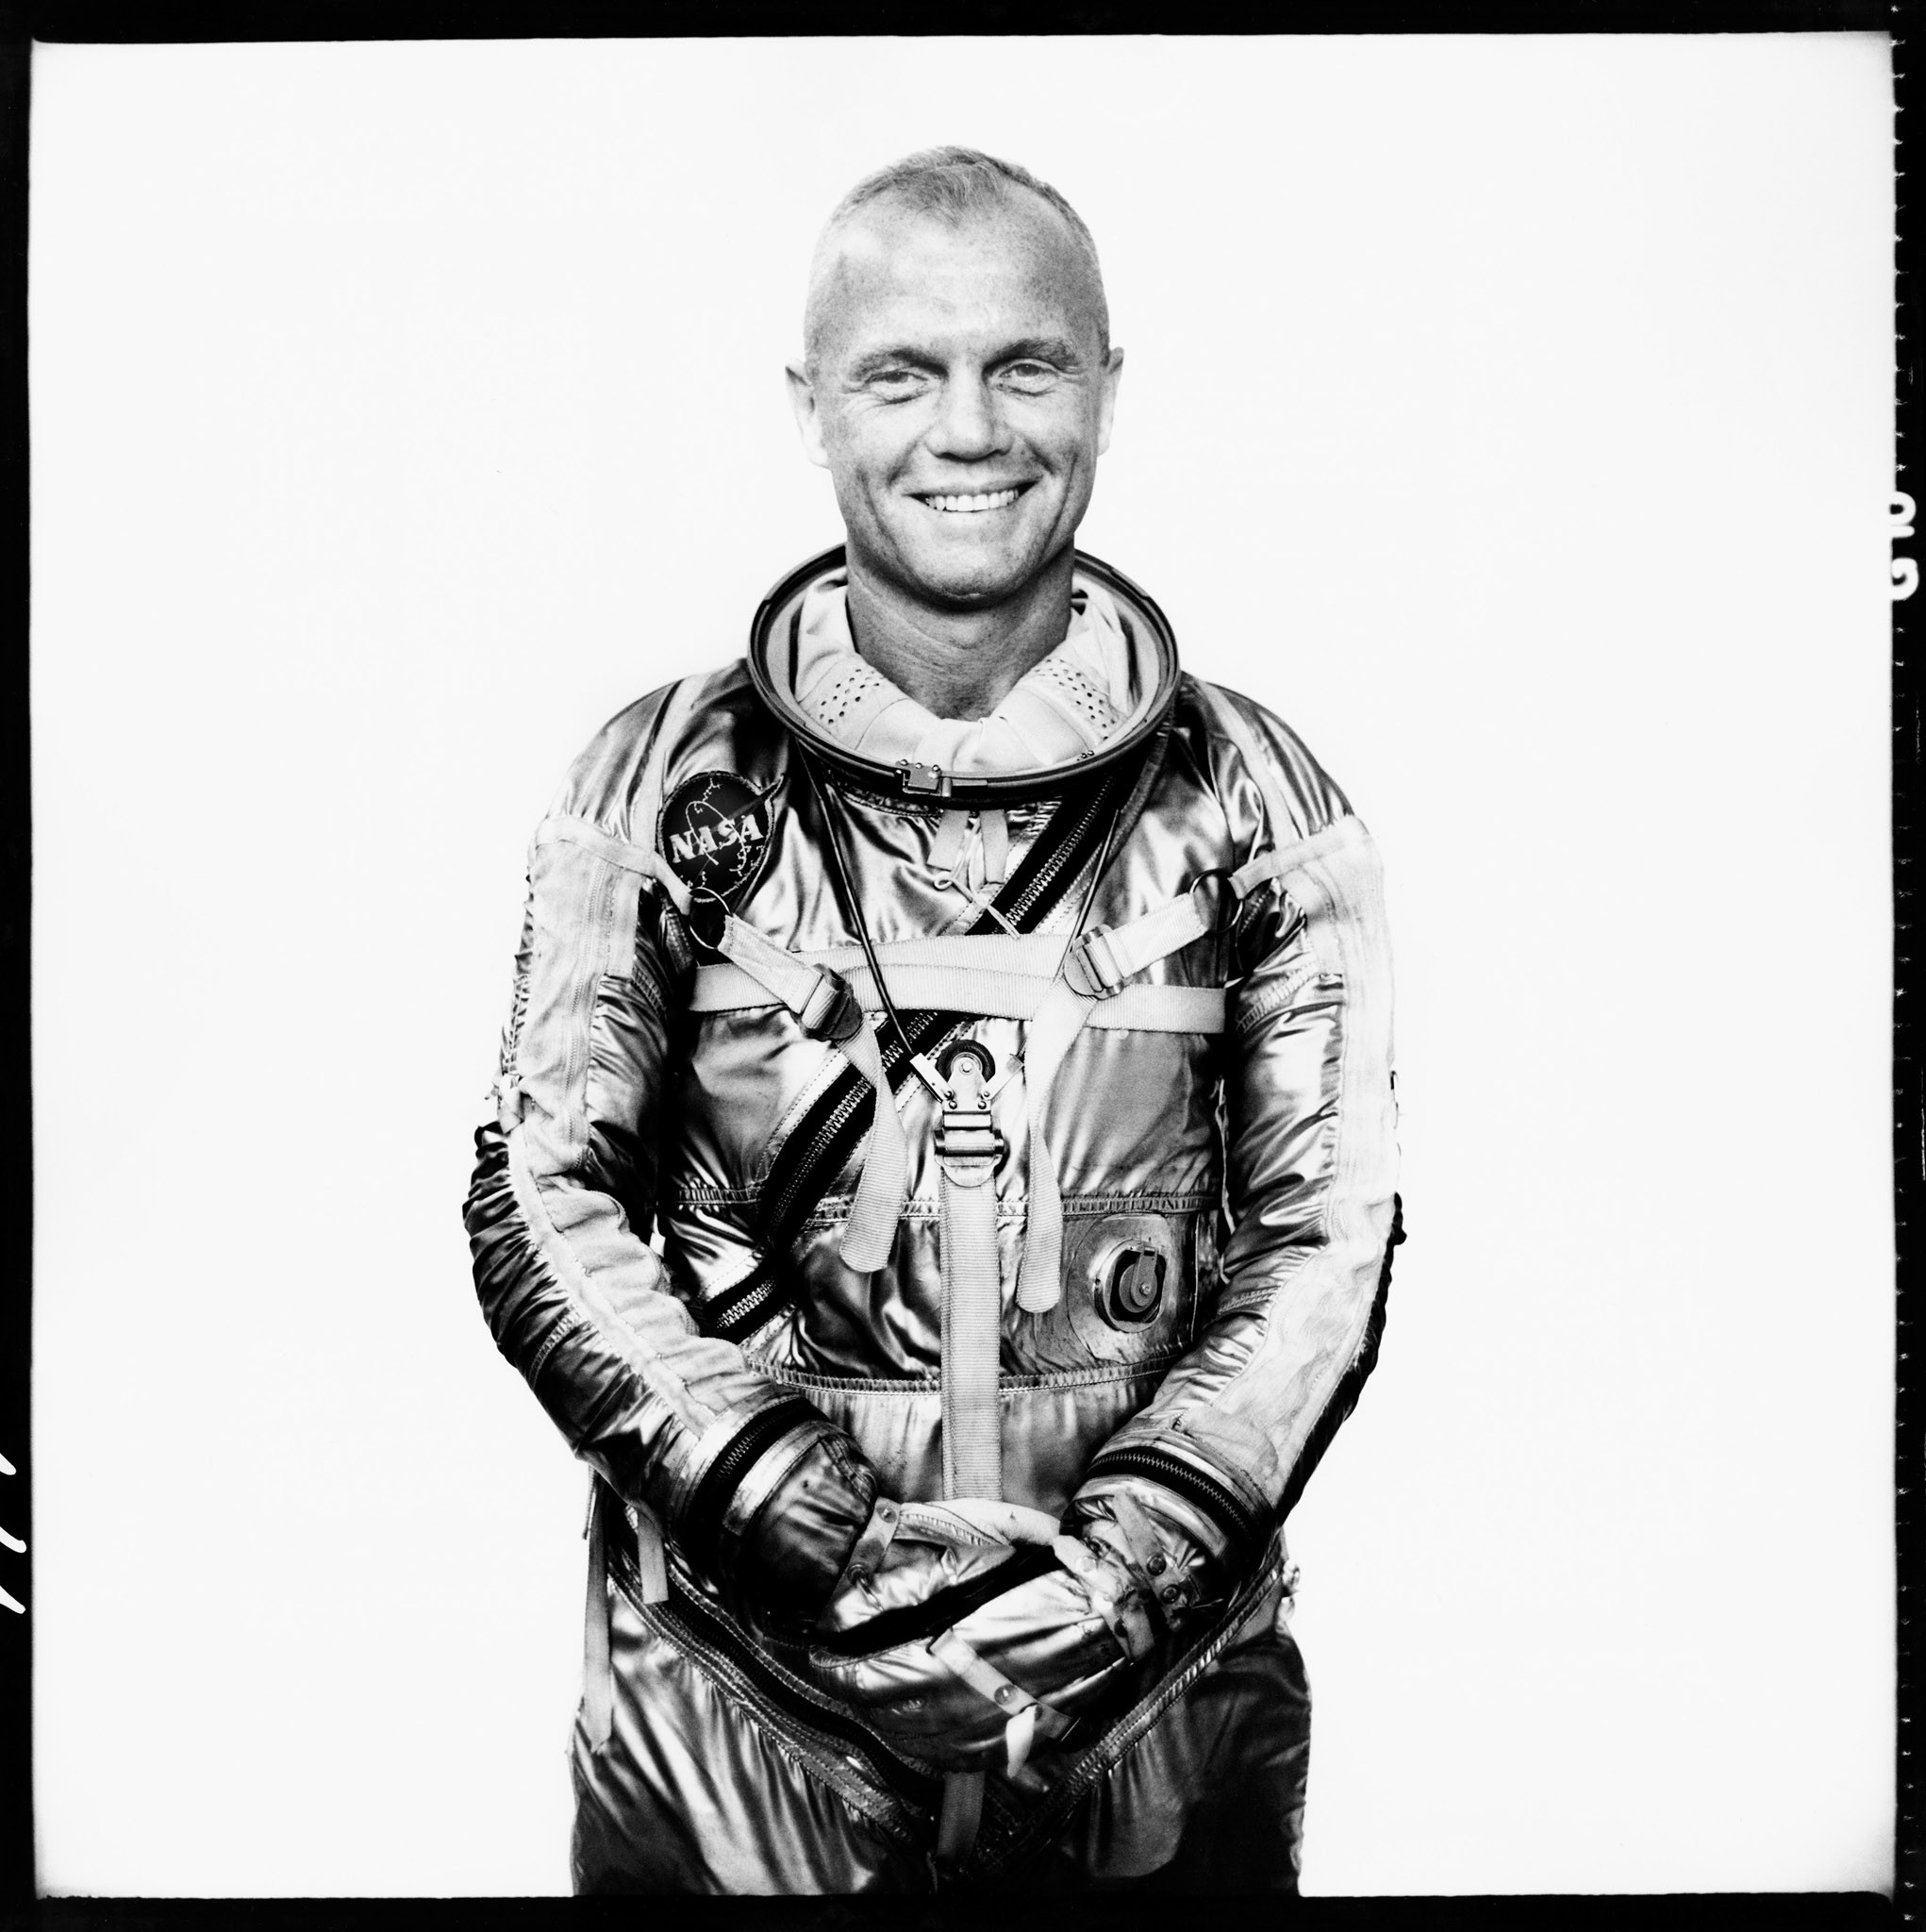
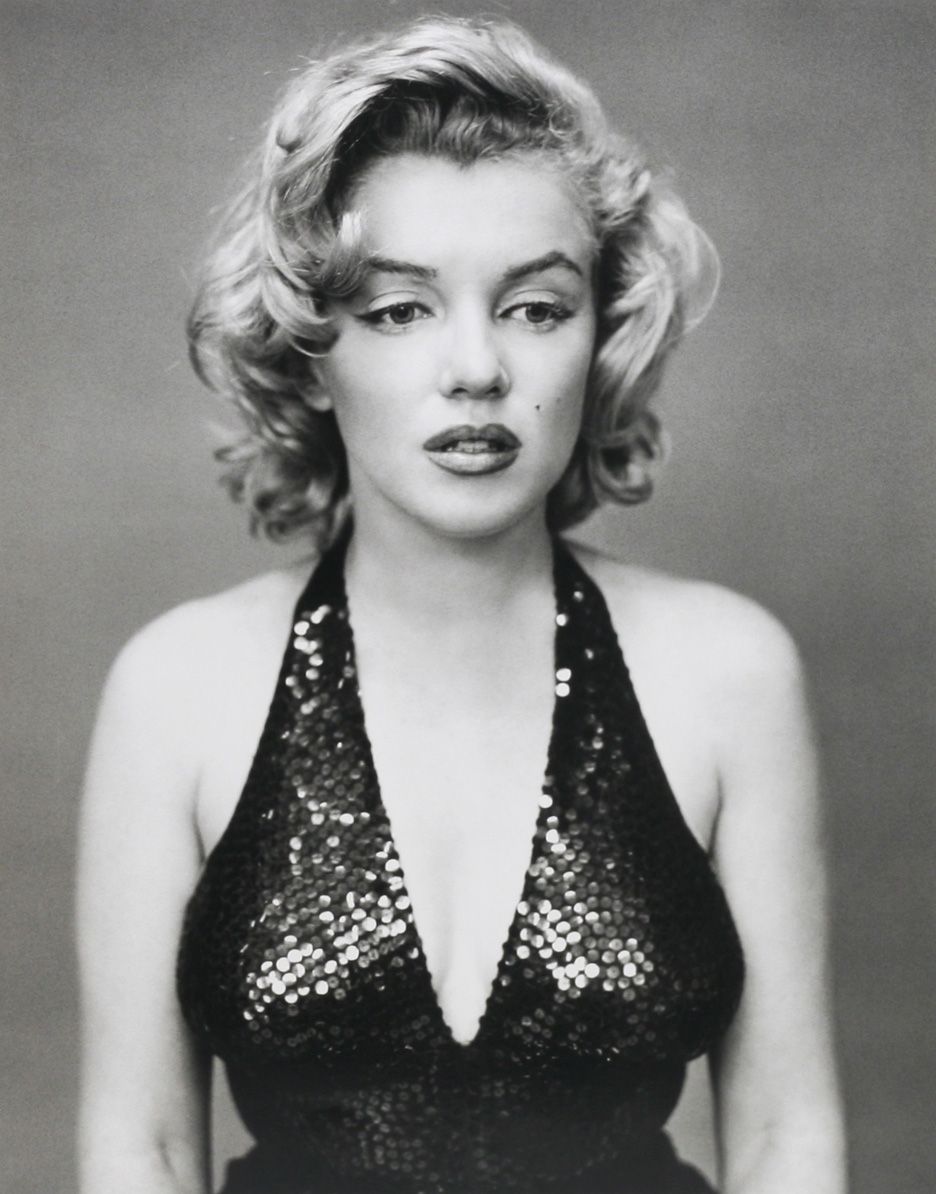
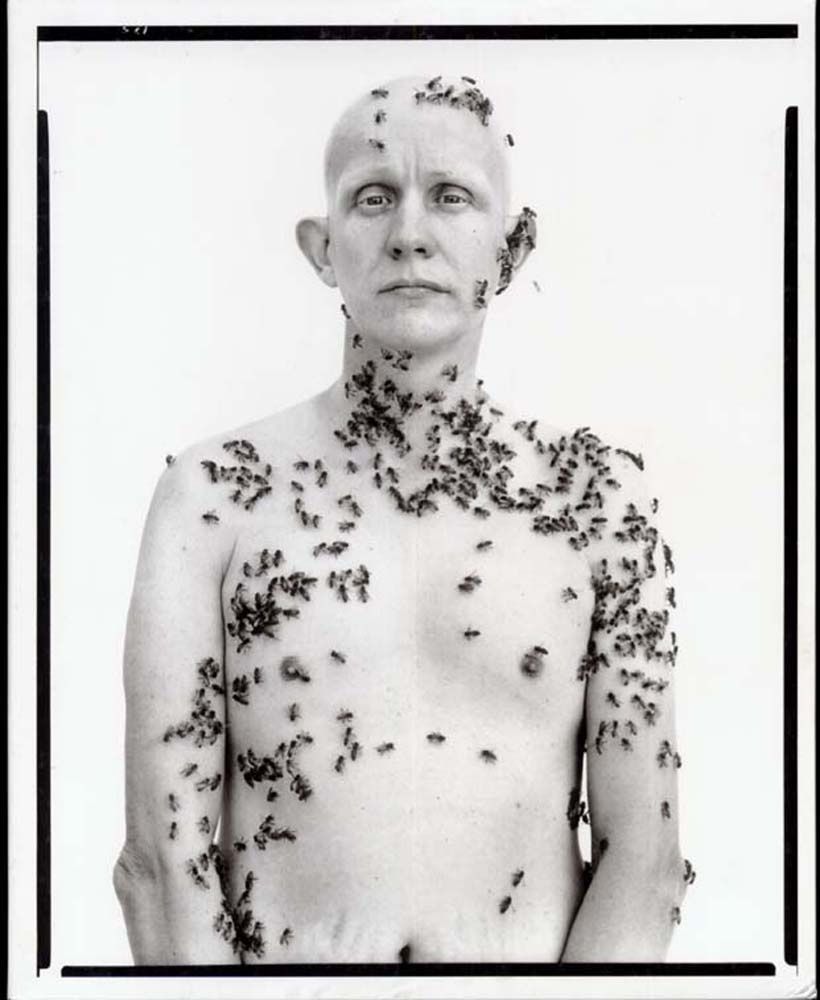
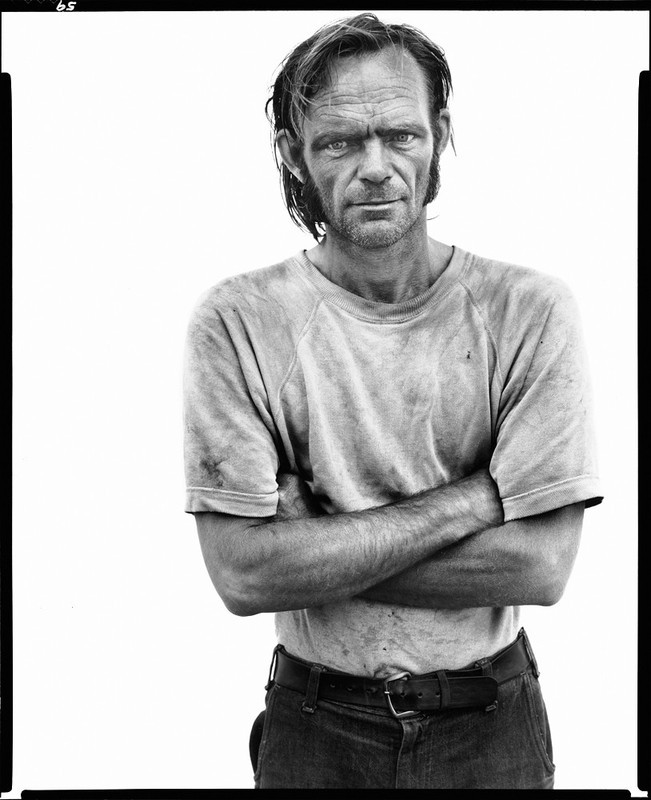
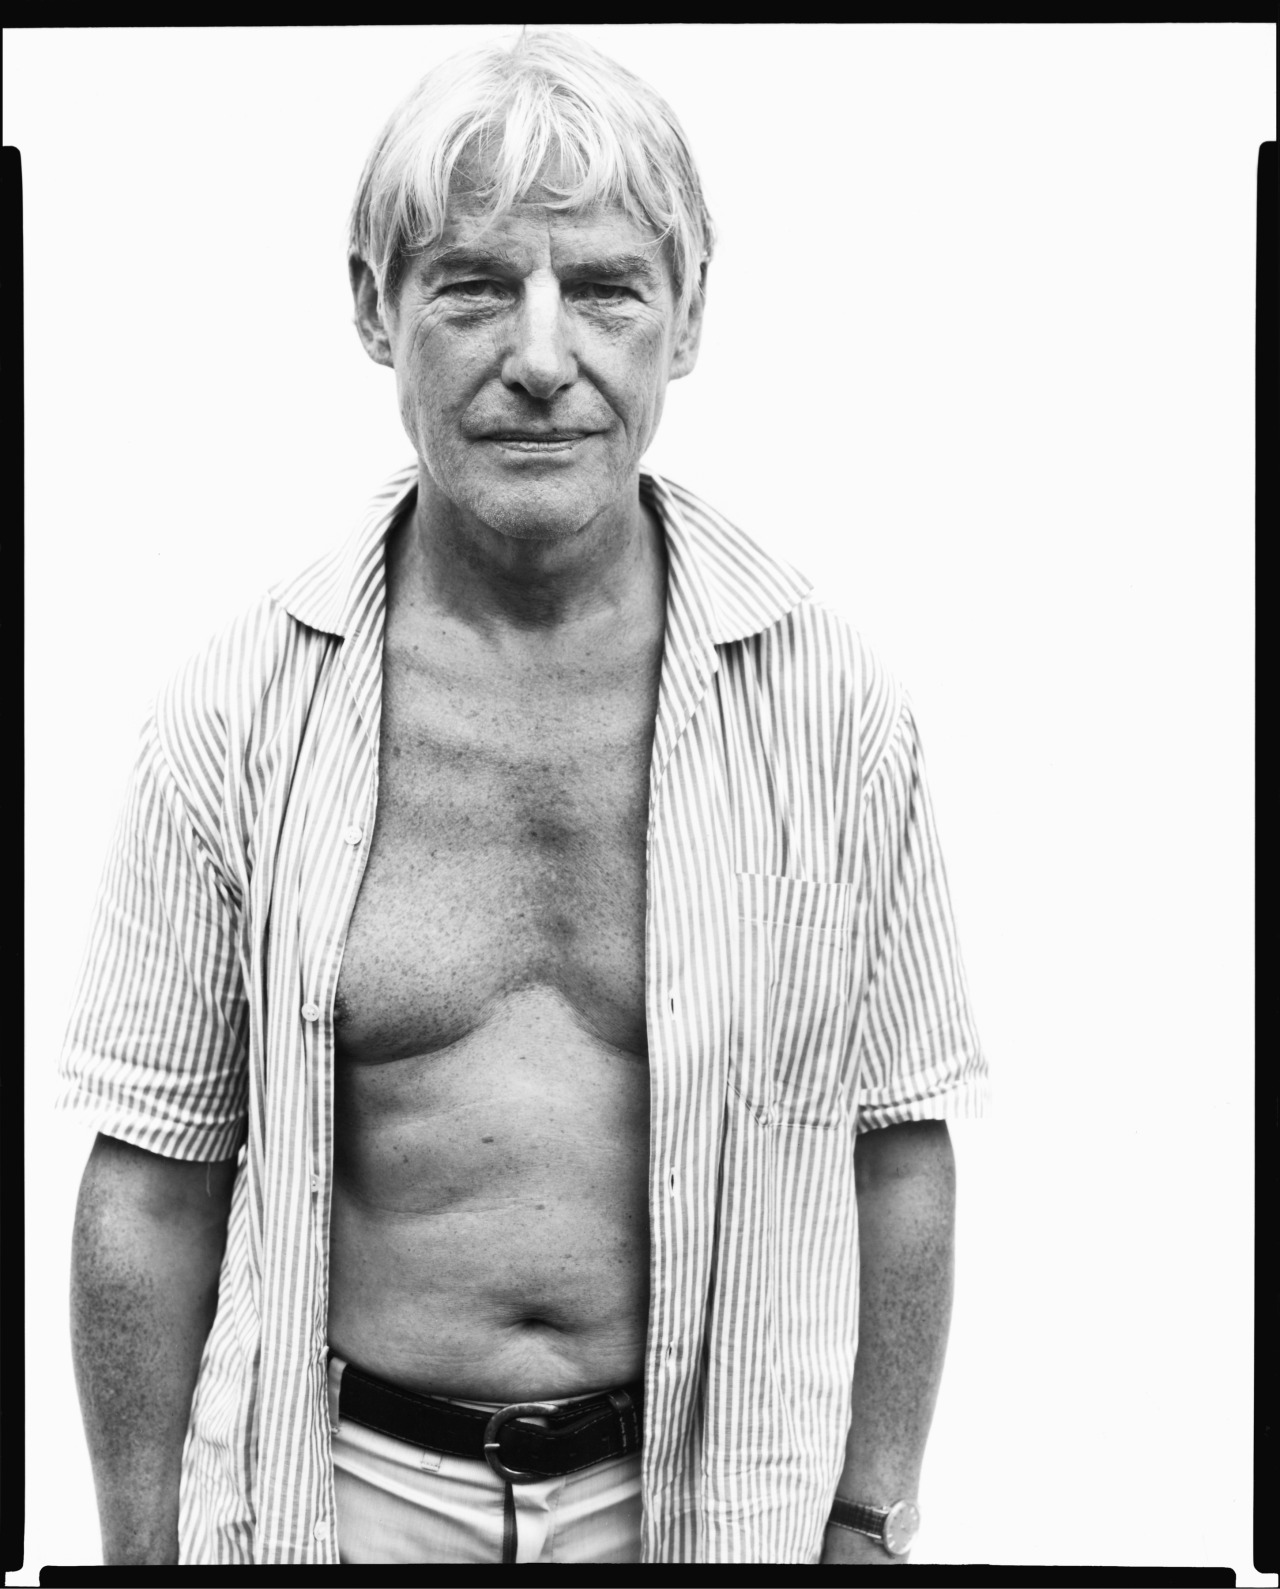
- In the style of Richard Avedon: take a portrait that is minimalist in the setting and focuses exclusively on interpreting the person and their personality. Try not to include any other visual information in the frame. Try to use someone who is expressive, or has a big personality. Try to show the emotion or energy of the person. Take many shots, and pick the right expression that captures this person. Focus on eye contact and the emotion you can get through your subject.
- Retouching: you can’t learn portraits without learning how to retouch them! Take a portrait of someone from the shoulders up (a headshot, essentially) with good lighting. Retouch the photo to two levels: one for Reality and one for Fantasy.
- Retouching for Reality should include: slightly softened skin, blemishes removed, eyes and teeth brightened, acne removed and/or toned down. Do this retouching in Camera RAW.
- Retouching for Fantasy should include: perfect skin, perfect hair (remove stray hairs and fill in any thin hair), whitened teeth and eyes, eye or hair color enhancement, and plastic surgery via Liquify or Puppet Warp.
- You should bring a photo to practice retouching on for next week’s class. Please use natural light.
Turn in one print and one final PSD or TIF file of each item to Assignments > Carrie’s Class > Portraits.
Since there are so many images due, please create a folder with your name and upload all your files to this folder.
There should be 4 prints total: 1 Newman portrait, 1 Avedon portrait, 1 Retouching for Reality portrait, 1 Retouching for Fantasy portrait.
Goals
- To explore different approaches and techniques to portraiture.
- To make photographic decisions regarding the appropriate setting and approach to each portrait, depending on the desired outcome.
- To learn advanced retouching, as well as the appropriate levels for different situations.
Requirements
- All portraits must be shot using available light or studio lighting (optional). No on-camera flash.
- The subjects face must be visible in the portrait, and they must be aware they are being photographed. In other words, the subject should be a participant in the portrait, facing the camera. I’m not looking for candid or documentary style photos. If you have any questions about this, please ask me.
Grading Considerations
- Newman portrait: have you successfully chosen the appropriate environment / context, lighting and composition to give information about your subject? Is everything in the frame relevant to the person? Is there a strong composition? Does the lighting contribute or take away from the portrait?
- Avedon portrait: is the portrait background minimal? Does the portrait capture the essence of the person being photographed? Is there a sense of emotion / energy / personality to the moment captured of them? Is there a strong composition? Does the lighting contribute or take away from the portrait?
- Retouching:
For the Reality Retouching: is your work done in Camera RAW using the adjustment brush? Is your retouching enhancing the portrait in a subtle amount?
For the Fantasy Retouching: is your retouching on separate layers and organized in layer groups in the PSD file? Is the Fantasy retouching extreme but photo-realistic? (i.e. can you still see a skin texture?)
Project Resources
- 5 – Portraits Lecture
- Portraits Project Assignment Sheet & Tutorial
- Frequency Separation Tutorial @ dpmag.com
- Advanced Skin Softening Tutorial Handout

